Via Erik Louw ontvingen we de laatste update met info over oa. reizen naar Japan van De Nederlandse Token Vereniging:
Auteur: beheer
-
29 juli Start-Up
door Dick Willems
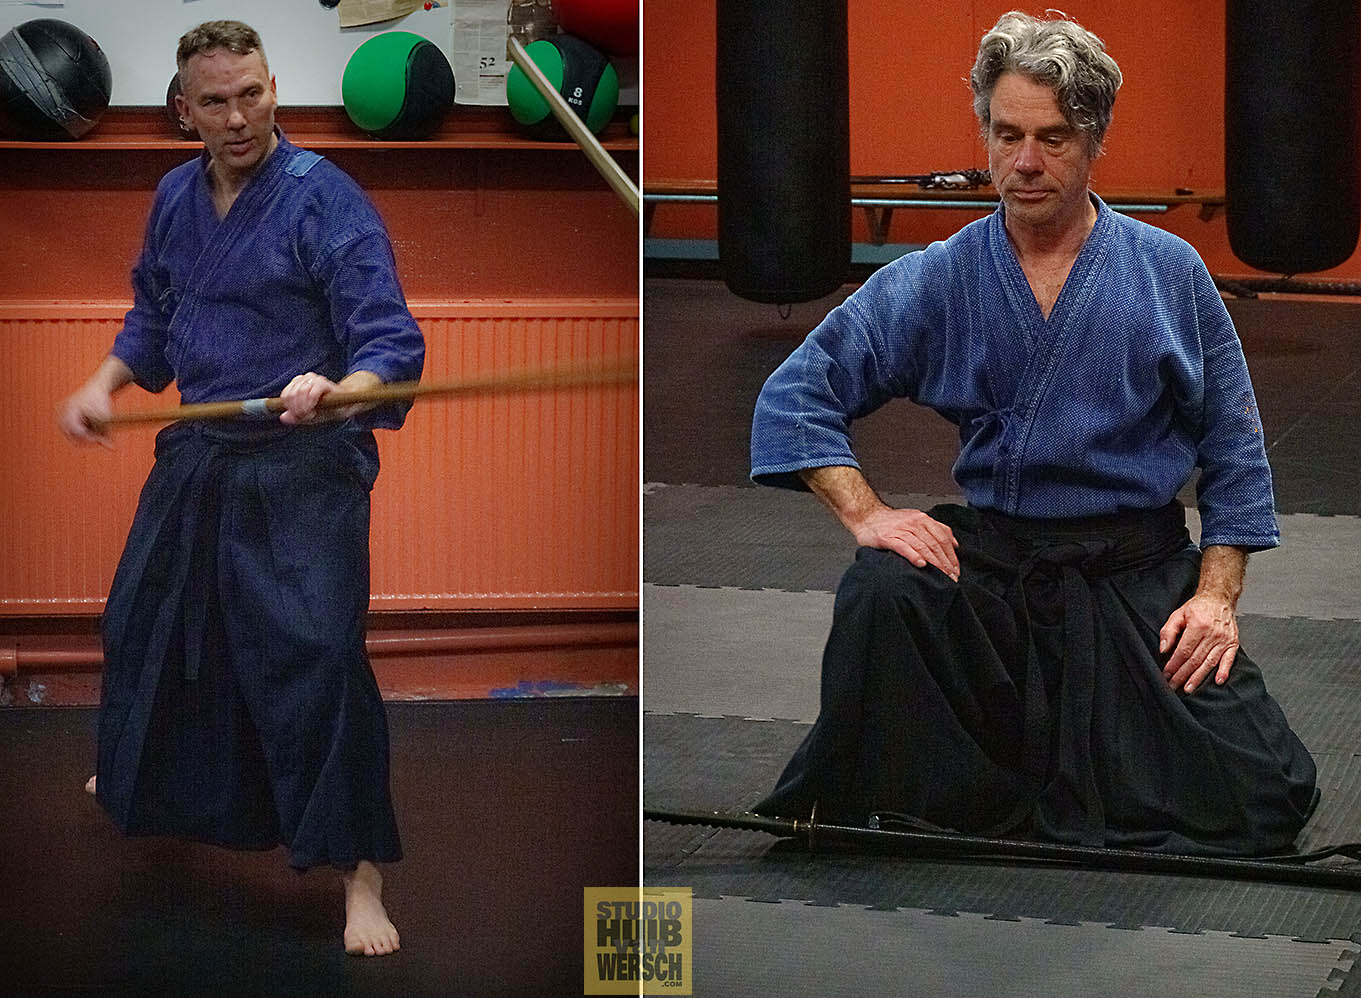
Bij Aikidojo Amsterdam hebben we een tijd lang aangepast getraind door de dreiging van het Corona-virus. We hebben zowel voor Aikido als voor Tenshin Shoden Katori Shinto Ryu de trainingen in parken in de open lucht gehouden.
De cijfers in de veiligheidsregio Amsterdam-Amstelland en omstreken geven het beeld dat er weinig mensen met het Corona-virus besmet zijn, en dat er sinds de maatregelen per 1 juli versoepeld zijn weinig besmettingen bij zijn gekomen. Door deze feiten, samen met het feit dat onze trainingslocatie op Amstelkade 13 over een uitstekend ventilatiesysteem beschikt, denken wij dat het verantwoord is om de trainingen weer binnen te houden. De eerste binnen-lessen zullen plaatsvinden op woensdag 29 juli, en zullen worden gegeven door onze hoofdleraar Erik Louw.
We houden hierbij in ons achterhoofd dat het virus nog steeds op de loer ligt. Wij zullen de trainingen dus aanpassen om het besmettingsrisico nog verder te beperken.
- Bij Aikido zullen we, voor wie dat wil, wapenwerk afwisselen met ongewapende technieken. We zullen hierbij in vaste uke/tori paren trainen en op ruime afstand van elkaar werken. Wie geen ongewapende technieken wil oefenen, krijgt meer wapenwerk en kan alleen trainen.
- Bij Tenshin Shoden Katori Shinto Ryu trainen we zonder kiai.
Daarnaast vragen we ook onze leden om onderstaande regels in acht te nemen:
- heb je klachten: blijf dan thuis en laat je zo snel mogelijk testen;
- heeft één van je inwonende familieleden klachten: dan blijf je ook thuis;
- bent je 18 jaar en ouder: houd 1,5 meter afstand van anderen bij binnenkomst, in de kleedkamers en waar mogelijk.
- was je handen bij binnenkomst en daarna nogmaals bij het betreden van de dojo.
- Als je vaak moet niezen als gevolg van allergieën, gebruik dan een mond-neuskapje tijdens de training.
Daarnaast vragen we de leden om voorafgaand aan de eerste binnen-training een verklaring te ondertekenen dat men zich bewust is van de risico’s en zich aan de regels zal houden.
Aikidojo Amsterdam beseft dat de manieren waarop onze leden in de Corona-kwestie staan zeer uiteenlopend zijn, terwijl protocollen voor allen dezelfde zijn. Hier hebben we alle respect voor, en wij vragen de leden ook om respect te hebben voor elkaars zijnswijzen. Wij willen deze verschillen in hun waarde laten, tegelijkertijd nemen we als vereniging onze verantwoordelijkheid in het licht van de feiten.
Zoals gezegd hebben we regelmatig buiten getraind en we zijn blij dat dat voor iedereen goed heeft uitgepakt. In het Amstelpark is een lokatie die veel weg heeft van een openlucht-dojo; Niet te groot en beschut gelegen.
[ngg src=”galleries” ids=”5″ display=”basic_slideshow”]
Route vanaf de hoofdingang: Over het spoorlijntje en dan rechts aanhouden. Na het terrasje de eerste links en dan na zo’n 70 meter aan de rechterzijde een onopvallend paadje dat schijnbaar nergens toe leidt. -
How to practice Aikido in quarantine – part 3
Ukemi – by Dick Willems
Because of the Corona-virus control measures, there are no Aikido classes at Aikidojo Amsterdam the coming week. But does this mean you can’t train? Absolutely not! Although it’s often said it takes two to do Aikido, there are plenty of exercises you can do by yourself. Even though you’re not going to be able to lock up your training buddies for a while, there’s still plenty you can work on. It might even be a good idea to do this when we get back to our regular schedule!
The Japanese word “ukemi” literally means “receiving body”. In Aikido, we practice techniques by defining roles. Nage is the one who executes the technique, uke is the one who undergoes (receives) the technique. This means that in your typical Aikido practice, about half of what you do is ukemi. So if your ukemi is good, you’re well on your way to being a good Aikidoka.
“Ukemi” is usually used as an umbrella term, consisting of breakfall and rolling techniques, ways of attacking, responding to locks and throws, and more generally as an attitude to training or, if you’re spiritually inclined, to life, the universe and everything. Since we’re focusing on training without a partner and I’m not feeling all that spiritual, in this entry I’ll write a bit about rolling. This doesn’t mean these other aspects are unimportant! We’ll leave the them for another time.
There are plenty of instructional videos on rolling on YouTube, so instead of writing about rolling techniques, I’m going to discuss some finer points. If you have a mat, some grass or an otherwise forgiving surface to practice on, you can do high-speed rolling for cardio, otherwise I suggest you practice slowly to improve your rolling technique. Since only few people practice slow rolling, I’ve included a short video later in this entry. But if possible, mix them up: slow rolls for technique, high-speed rolls for cardio. It’s important to keep in shape in these times!
Here are some things to consider while practicing:
Exhale
When rolling or breakfalling, make sure you exhale. This is both to help you reduce tightness (see below) and to protect your lungs. If you hold your breath during a fall, the air in your lungs has nowhere to go and might rupture the blood vessels within your lungs.
This also helps you reduce the impact on your body. Imagine someone jumping off a roof onto an air pillow. If the air pillow has holes in it to let out the air, the pillow will deflate on impact, protecting both the jumping person and the pillow. If it doesn’t have holes, the impact might either tear the pillow or bounce the jumping person off to a second fall.
Keep extension throughout your body
Many people, except for the exceptionally talented, have the experience of messing up a forward roll due to tightening the muscles. Since people tend to be averse to falling (which is natural), the prospect of falling tends to make them nervous, which results in muscle contraction. This results in blocky, painful falls.
You should also not relax too much, because then your fall will probably do some damage to your spine and joints. Your muscles shouldn’t feel like spaghetti. There should be a bouncy quality to them. To achieve this, rather than thinking of relaxing during your roll, think of expanding.
This will also keep the load off of your shoulder. Many people tend to take the impact for the fall on their elbow, which means the shoulder joint has to soak up a lot of force. This can lead to injury! Getting into the habit of “feeling big” during a roll can prevent this.
Protect the head and spine
A key function of ukemi is that it should help you protect your body during a fall. We usually practice ukemi on mats, but your ukemi should also work on concrete. It’s instructive to keep in mind when practicing rolling.
Try to avoid letting the head touch the mat or rolling over the spine. This is the reason why we roll from shoulder to hip in Aikido, as is demonstrated in the following clip :
The entire movement is a roll
This might seem like a silly statement, but an observation I’ve made in teaching is that many people wait too long to start rolling. The moment you make contact with the floor, you should already be turning around your center.
Sometimes people use their hands as “vaulting poles”; they plant their hand on the mat and “keel over” into the roll. In aikido we usually have some horizontal air-time before this becomes a roll, this is what lets us get away with that. But suppose the trajectory would be steeper (as it is with throws from other martial arts). You would hit floor pretty hard, probably damaging your shoulder area and everything around it. If you start the roll earlier, the rotation will disperse the force to some extent. To be clear, you’ll also want to increase the area of impact (by slapping the mat) in these cases. But since the current topic is rolling, I’m not going to get into that.
So how do you start the roll early? By trying to reach back while you roll forward. In other words, image that the arm that you are rolling over is trying to grab something behind your rear foot. But you can’t reach it because your arm is too short. So you turn your body to be able to reach a bit further, and let that movement turn your body into the roll. So by reaching behind you with your arm, you cause your legs to come over to the front.
Slow rolls
This is an exercise you can do at home, even if you don’t have a mat. Basically what you’re trying to do is roll as slow as possible. It works best from a seated position, because you don’t have to deal with handling the momentum. Here’s a short clip of me taking a crack at this.
If you do this exercise, as noted above:
- Keep breathing throughout the roll. You can take multiple breaths, it doesn’t need to be a single exhalation.
- Make yourself big, don’t tighten up or collapse.
- Roll from shoulder to hip.
- Start by reaching behind you.
Something specific for this exercise: if you do this for the first time, you’ll probably collapse when your feet are descending. You can mitigate this by using your free hand as support. So if you’re rolling over your right shoulder, use your left arm as support.
It looks easy, but it isn’t. Once you can do this, you can pay more attention to the points mentioned above, or even come up with your own points of attention. Practicing slowly regularly is a pretty good idea, and not only for rolling. It gives you the opportunity to correct things that you mess up when practicing at speed. Slow is smooth, and smooth is fast.
That’s it for this entry. See you back on the mat in good health soon, after this is all over. Wash your hands, stay inside if you can and if you can’t, maintain 1.5 meters distance. Take care!
-
How to practice Aikido in quarantine – part 2
Tai sabaki – by Dick Willems
Because of the Corona-virus control measures, there are no Aikido classes at Aikidojo Amsterdam the coming week. But does this mean you can’t train? Absolutely not! Although it’s often said it takes two to do Aikido, there are plenty of exercises you can do by yourself. Even though you’re not going to be able to lock up your training buddies for a while, there’s still plenty you can work on. It might even be a good idea to do this when we get back to our regular schedule!
This week we’re going to take a look at our fundamental footwork, in Japanese terms: tai sabaki. As you can see here, you’re required to demonstrate a couple of tai sabaki in order to pass your sixth kyu test in our dojo, the first exam you’ll likely take. The fact that tai sabaki is part of the sixth kyu requirements does notmean that it’s easy! Taisabaki is a key component in every Aikido technique. So if your tai sabaki sucks, all your techniques will suck too.Tai sabaki literally means body management, and in Japanese martial arts usually refers to body movement. Again, like in our previous installment of this blog, the implication is that your entirebody moves, not just a couple of disconnected parts.
This means that when practicing tai sabaki, you have to pay attention to body parts that are “ along for the ride”. In other words: while moving, you have to develop a sensitivity to identify parts of your body that aren’t contributing to your tai sabaki. And you can develop this sensitivity by practicing alone.
Here’s some ideas to keep in mind while practicing.
No leaning
To be clear: full body movement does notmean that you lean into your partner! To understand why this is so, imagine that your partner suddenly disappears in the middle of this exercise. If you’re leaning into your partner, you’ll fall flat on your face! This is something that becomes obvious when practicing alone, since there’s nothing to lean on.
Mind your posture
You can check this before a mirror. In Aikido, your posture is supposed to be erect; your spine should be stretched out from top to bottom. It doesn’t have to be perfectly straight (in fact, that would probably be bad for you), but you should feel some extension there.
Straighten your shoulders
If your posture is like most people’s, you should draw back your shoulders a bit. Don’t overdo it though. Checkpoint: if you raise your hands above your head and let them drop forward, your hands should remain an equal distance apart. If you accidentally hunch your shoulders, they’ll come closer together as they drop.
Don’t overbend your knee
Some people tend to bend their knee too much. The rule of thumb is that, maintaining correct posture, you have to be able to see your toes from over your knee. If you can’t, your bending your knee to much. This has two downsides: you’ve lost mobility and you’ll damage your knees over time.
Pay attention to your opposite side
This is a bit complicated to explain (which is why it took me longer to write this, also because of my deficient skills in drawing). Let’s first consider the statement that in Aikido, we strive to move in a balanced and centered manner. This means that your weight should be equally distributed among your feet and your center of gravity should be between your feet.
Now let’s take a look at ‘normal’ movement: a step (or, tai sabaki irimi if you will). What most people do is they shift their weight onto one leg and then swing their leg forward (see below, the thick line on the foot means that all the weight is on that foot).
As you can see, this way of stepping is not centered. If all the weight is on one leg, this means the center of gravity can never be in the middle.
So how can you step and remain centered? The answer is pretty complicated, but it involves paying attention to your opposite side. That means that if you want to step forward in a centered way, necessarily your opposite side should feel like there is some backwards force on it, like below.
See how the center of the circle is neatly between the feet?
So if you want to practice tai sabaki, pay attention to the following:
- Tai sabaki irimi: as you come forward with one side, pay attention to your “support” side coming back
- Tai sabaki tankan: as you turn backwards with one side, pay attention to your “support” side coming forward
- Tai sabaki irimi tankan: as you step forward and then turn, pay attention to your support side coming backwards and then forwards.
Pretty complicated, right? As I said at the start of this entry, the fact that tai sabaki is a sixth kyu requirement doesn’t mean it’s easy. In fact, in Japanese martial arts you usually learn the most complicated things first, so you can practice them the most. So if you’re bored with your social distancing during this pandemic, it’s probably a good idea to go over the sixth kyu requirements again and ask yourself what you are supposed to learn from this.
In the beginning stages, we learn Aikido by imitating our teachers, and that will keep you busy for a couple of years. It’s an important phase, but it’s also a phase you’ll have to transcend at some point (I’m not saying I’m there, but I definitely don’t want to stay at the level I’m currently at). Reflecting on the basics, coupled with critical self-evaluation, will help you in due time to build up a profound understanding of Aikido.
Bonus section: hiji kime osae/ hiji shige/rokkyo
Now that we’re talking about opposite sides, it might be interesting to consider this is the context of a technique, in this case the waza of many names: rokkyo (AKA hiji kime osae, hiji shige, ude hishige). It’s the lock pictured below (by the way, this is Gozo Shioda sensei, the founder of Yoshinkan Aikido):
In our dojo, we finish this lock in two ways: omote (step forward with the back leg) and ura (step backwards with the front leg). Notice that the position of the lock on the arm is centered: Shioda sensei has both arms in front of his body and the elbow lock is right in front of his torso). If you would take your finishing step in an uncentered way, your center of gravity would no longer align with the position of the lock.
Notice that if you take a centered step, you don’t have this problem. Additionally, if you’ve practiced centered stepping, omote and ura are suddenly way more similar. They’re basically the same move, resolved in a different way.
This one example of how tai sabaki is an important component of your technique. In this case, it makes the lock much more convincing for your uke.
That’s it for now folks. I hope you find some value in this entry, and to see you back on the mat in good health soon. Take care!
-
How to practice Aikido in quarantine – part 1
Ame no Torifune – by Dick Willems
Because of the Corona-virus control measures, there are no Aikido classes at Aikidojo Amsterdam the coming week. But does this mean you can’t train? Absolutely not! Although it’s often said it takes two to do Aikido, there are plenty of exercises you can do by yourself. Even though you’re not going to be able to lock up your training buddies for a while, there’s still plenty you can work on. It might even be a good idea to do this when we get back to our regular schedule!
In this installment, we’re going to take a look at Ame no Torifune. This exercise (like many others) is often seen as a warmup exercise, but it’s more than that. Take a look at O-sensei demonstrating this exercise with Terry Dobson:
As with many exercises in Aikido (including technique), it’s instructive to ask yourself what you’re supposed to learn from it, aside from how to do it exactly. My (admittedly limited) take on this is that you’re trying to learn a form of full-body movement.
So, with this in mind, take a look at the video first and check out how O-sensei does this exercise. First, note that he does it in a couple of different ways. If you look at his arms, at first he seems to swing them up in arc, later he thrusts them out. If you look at his torso, first he keeps his hips straight, later he turns while coming back. What do you do? Now try it the other way. How does this feel? Are you engaging your entire body? If not, what seems to be missing? Now try to add that. Ask yourself those three questions repeatedly. You can spend a good amount of time improving your Ame no Torifune this way.
Here’s some things to consider:
- Are you stable while doing this? Does your heel keep touching the ground or is it coming up? Check the video again. What is O-sensei doing?
- How far are your knees coming forward? If you can’t see your toes when you’re coming forward, you should probably tone it down for two reasons. One: you’re messing up your knees, and two: you’re reducing your mobility. You’re making it too hard for yourself to come back. Check the video again. What is O-sensei doing?
- Are your legs involved when you do this exercise? In what way? Is one leg doing more than the other leg? Does that mean that you’re under-engaging that leg, or over-engaging the other? Can you balance this out? Check the video again. What is O-sensei doing?
- Is your spine engaged? In what way? Can you switch it around? Does this make it easier or harder? Check the video again. What is O-sensei doing?
- Are your shoulders tense or relaxed? Are you hunching? Are your shoulders coming forward and backward? Can you keep them relaxed and stable? Can you reduce the stiffness? Can you reduce it even more? Check the video again. What is O-sensei doing?
- What are your arms doing? Do they feel tense or stiff? Can you reduce the stiffness? Check the video again. What is O-sensei doing?
- Overall: do you feel balanced? Do you feel your entire body is engaged and coordinated? Is there any stiffness and can you get rid of it?
That’s it for now folks. I hope you find some value in this exercise, and to see you back on the mat in good health soon.
Take care!Dick Willems – 14th of March 2020